Page 2 of 3 FirstFirst 123 LastLast
Results 11 to 20 of 21

Thread: My bulkhead restoration saga

  1. #11
    Join Date
    Oct 2006
    Posts
    1,199

    Default

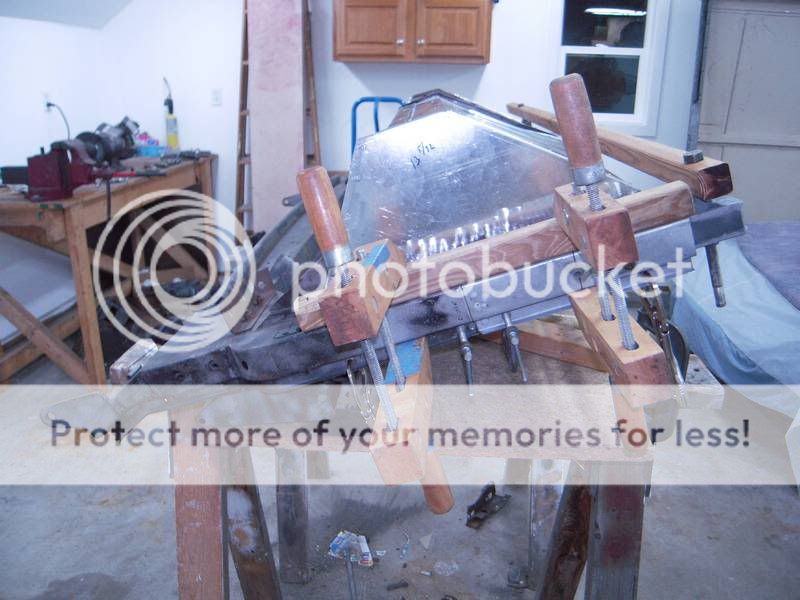
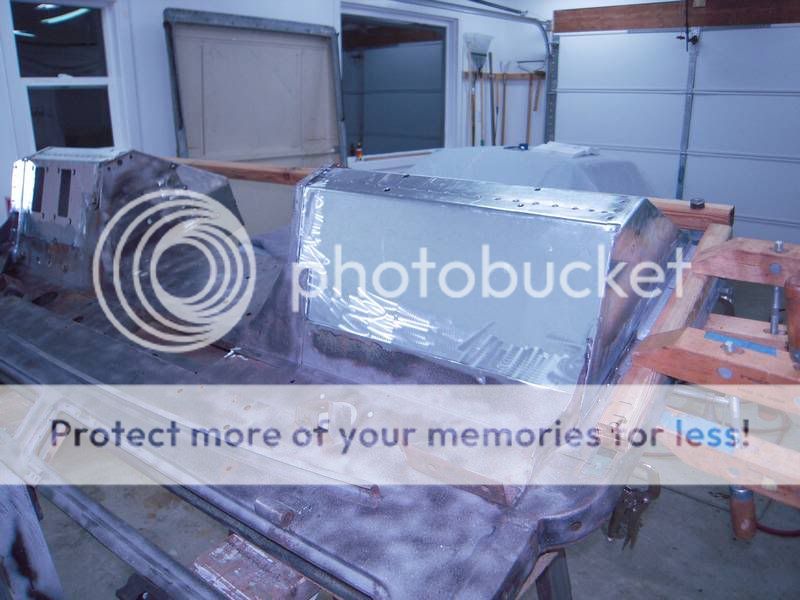
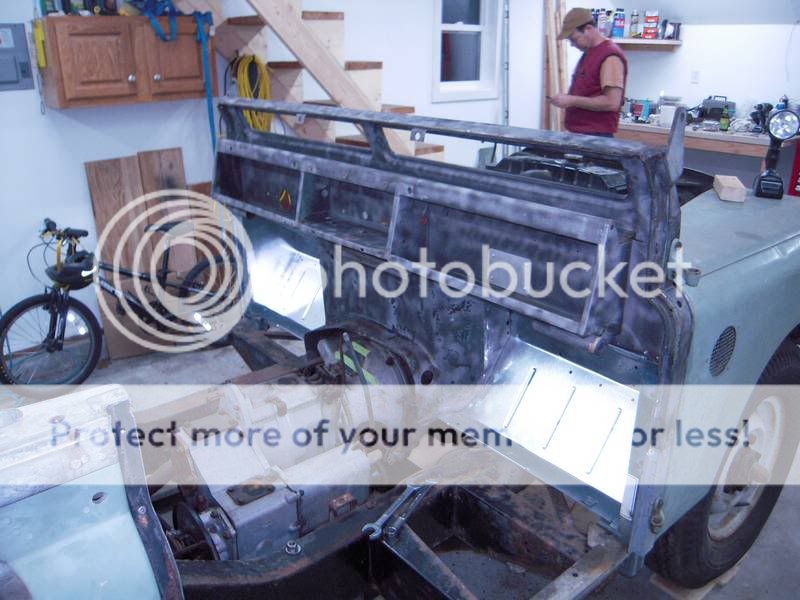
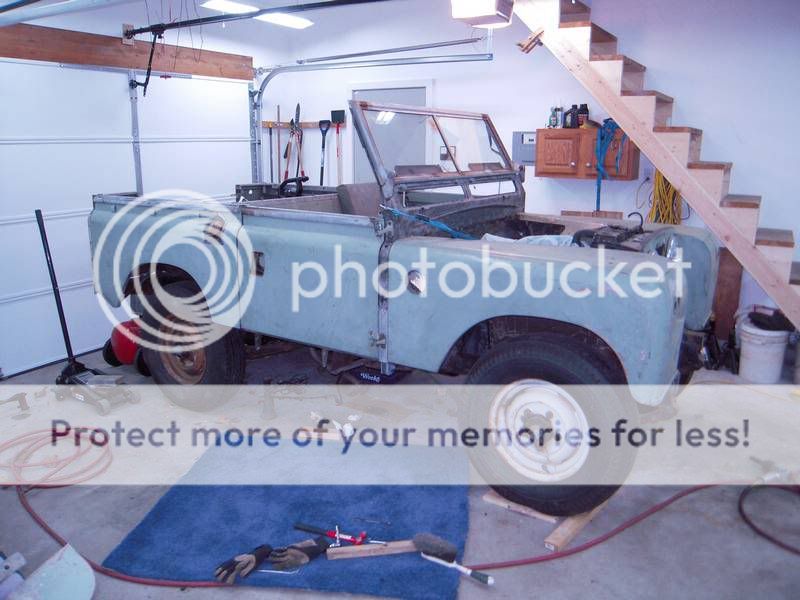
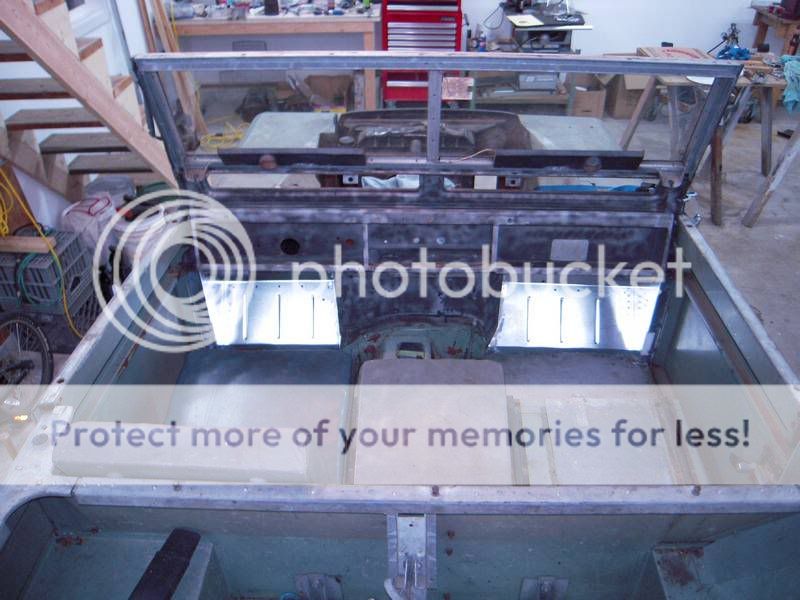
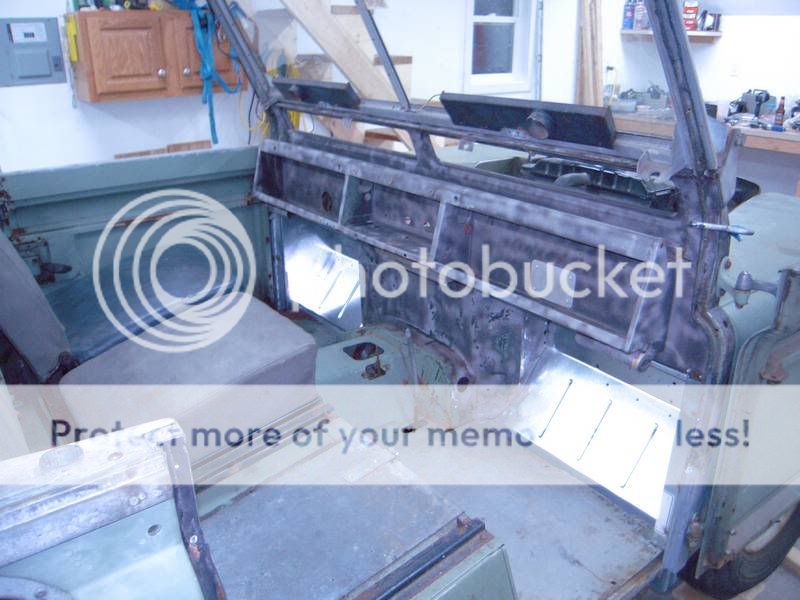
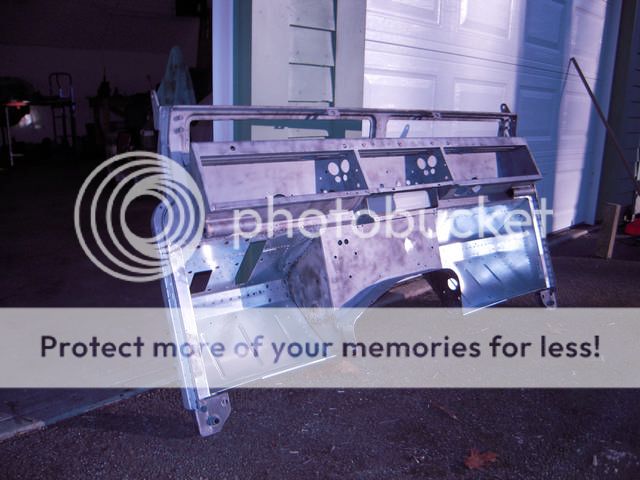
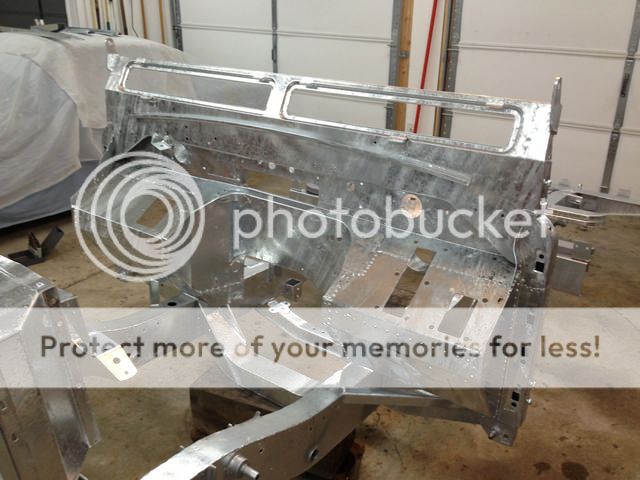
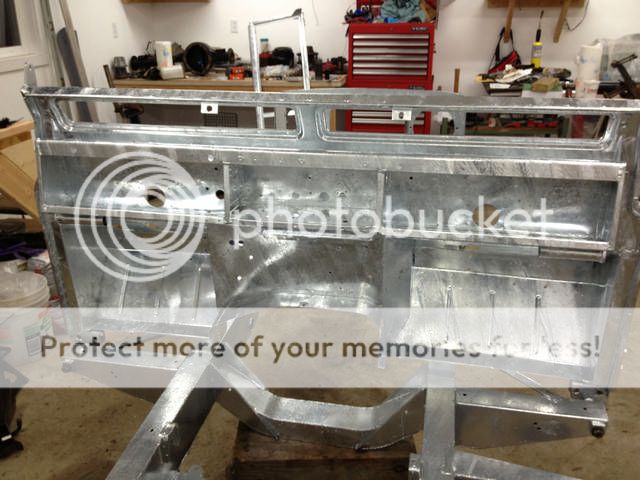
    There's a lot of misinformation regarding painting galv.
    Bottom line on it is that it doesn't really matter how long after dip you wait to paint it. As long as you use a 2 part epoxy primer you can paint any time and you don't need to do any prep as long as there is no wax or oil on the metal.
    You can't use allkyd type primers like rustoleum.

  2. #12
    Join Date
    Nov 2006
    Location
    Mass.
    Posts
    1,796

    Default

    Cevan, not galvanizing isn't the end of the world. If you're on the fence about painting it contact Mercedesrover (here or more likely on the GnR board). Jim will steer you straight on painting it....that's his buisiness.
    Jason
    "Clubs are for Chumps" Club president

  3. #13
    Join Date
    Jul 2011
    Location
    Western Mass
    Posts
    57

    Default

    Update: Passenger side mocked up. It was a lot easier after already doing the driver's side. I think I have cut out about 10 lbs of metal out of this bulkhead.


    Bob the welder.


    Partially mocked up. We spent a little time trying to get the doors, bulkhead and fenders adjusted. Decided to throw the seatbox and floors in. Overall, I'm pretty happy with results.


    1976 Honda CB750F1
    1974 Honda CB360G
    1967 Series IIA

  4. #14
    Join Date
    Jul 2011
    Location
    Western Mass
    Posts
    57

    Default

    Quick update. Finished the welding and grinding on the bulkhead. My friend has a III so I was able to measure and cut the correct opening for the brake tower.


    Decided to galvanize it. Drove out to Duncan Galvanizing last Friday with a bunch of parts. Pretty happy with how it all came out.


    1976 Honda CB750F1
    1974 Honda CB360G
    1967 Series IIA

  5. #15
    Join Date
    Feb 2007
    Location
    East Granby, CT
    Posts
    1,884

    Default

    Quote Originally Posted by Cevan View Post
    Drove out to Duncan Galvanizing last Friday with a bunch of parts. Pretty happy with how it all came out.
    Did they galvanize it while you waited? The finish looks nice, any issues with slag or finish damage? Did you have a standard hot dip or did you have to ask for an architectural finish?

  6. #16
    Join Date
    Oct 2006
    Posts
    1,199

    Default

    Take your MAPP torch and your air blow gun and heat up the vent pin hinges until the zinc melts. Quick quick quick put the blow gun to the pin hole and blast as much zinc out as you can. Ditto the captive nuts on the dash. I made the mistake of failing to check whether I had gotten all the zinc out and had to spend some quality time with a small rat tail file cleaning out those hinges after it was all painted. You can also use the torch to loosen the captive nuts. Run a 5/16th-20 tap thru them to clean up the threads. The captive nuts on the dash are 10-32.
    I used Awl Grip 545 epoxy primer on both the chassis and bulkhead. Chassis I painted satin black with Interlux Perfection and the shop painted the BH limestone.

    PS looks like you forgot to drill for the throttle cross shaft mounts, yes?

  7. #17
    Join Date
    Jul 2011
    Location
    Western Mass
    Posts
    57

    Default

    Quote Originally Posted by o2batsea View Post
    Take your MAPP torch and your air blow gun and heat up the vent pin hinges until the zinc melts. Quick quick quick put the blow gun to the pin hole and blast as much zinc out as you can. Ditto the captive nuts on the dash. I made the mistake of failing to check whether I had gotten all the zinc out and had to spend some quality time with a small rat tail file cleaning out those hinges after it was all painted. You can also use the torch to loosen the captive nuts. Run a 5/16th-20 tap thru them to clean up the threads. The captive nuts on the dash are 10-32.
    I used Awl Grip 545 epoxy primer on both the chassis and bulkhead. Chassis I painted satin black with Interlux Perfection and the shop painted the BH limestone.

    PS looks like you forgot to drill for the throttle cross shaft mounts, yes?
    Cross shaft mount holes are there.

    Not sure about paint yet. Probably a Dupont epoxy primer b/c I've used it before. I've got all the threads clean on the bulkhead but for the ones for the center gauge panel. I forgot to put bolts in there. Any idea what size these are?
    1976 Honda CB750F1
    1974 Honda CB360G
    1967 Series IIA

  8. #18
    Join Date
    Oct 2006
    Posts
    1,199

    Default

    Quote Originally Posted by Cevan View Post
    I've got all the threads clean on the bulkhead but for the ones for the center gauge panel. I forgot to put bolts in there. Any idea what size these are?
    See above:
    The captive nuts on the dash are 10-32.

  9. #19
    Join Date
    Jul 2011
    Location
    Western Mass
    Posts
    57

    Default

    Quote Originally Posted by o2batsea View Post
    See above:
    The captive nuts on the dash are 10-32.
    Ahh, yes. Thanks.

    I put new bump stops and GBR frame bushing in. Nice to install parts for a change, rather than disassemble, and clean clean clean.
    1976 Honda CB750F1
    1974 Honda CB360G
    1967 Series IIA

  10. #20
    Join Date
    Oct 2006
    Posts
    1,199

    Default

    If you have a source for the pan head 10-32 slotted, I'm all ears.

Posting Permissions

  • You may not post new threads
  • You may not post replies
  • You may not post attachments
  • You may not edit your posts
  •  
About us
Unparalleled product knowledge. Our mission is to support all original Land Rover models no longer supported by your local Land Rover franchise. We offer the entire range of Land Rover Genuine Parts direct from Land Rover UK, as well as publish North America's largest Land Rover publication, Rovers Magazine.
Join us