
 Tweet
Tweet
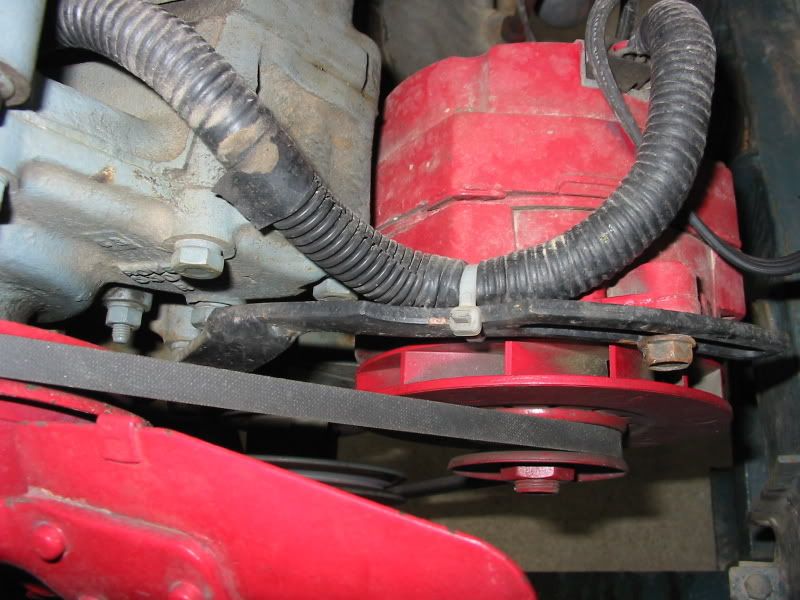
I got an Alternator Bracket Kit from Robert Davis 5+ years ago that I'm finally going to install but I have a few questions before I start. Has anyone installed one of these and if so are there any tricks other than what is in his instructions?
The instructions say to remove the starter dog and the crank pulley so the bracket bolts can be removed/installed. As I've never done this before I was wondering if I need to drain the block first before I remove the pulley?
Also, I was wondering if I need to drain the coolant and remove the radiator before I start or can it be put on with the everything else in place (radiator, fan shroud, wings,...)?
Thanks for the help
Seth


Comment