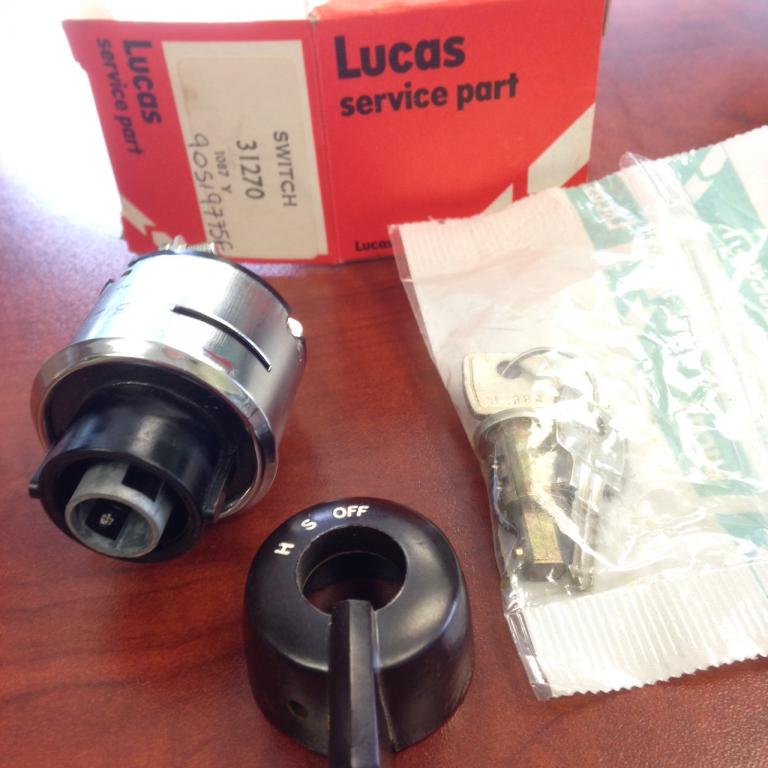
Lucas 31270 Ignition Switch
I am changing my SIIA back to the original ignition switch and light switch configuration. I have seen the suggestion that the Lucas 31270 will not handle the amperage necessary to run modern headlights, therefore relays should be used. I am running a negative earth setup with a new harness on this 1965. Hella halogen headlights, bulb wattage unknown.
Any comments on this?
'65 Series IIA, 88'
'00 Discovery II
'08 Jaguar xj8
'95 RRC LWB, deceased.....
'75 Forward Control GS, 72 FL 64, gone to CA!


 Reply With Quote