My bulkhead restoration saga

Collapse
X
 
  • Time
  • Show
Clear All
new posts
  • Cevan
    Low Range
    • Jul 2011
    • 57

    My bulkhead restoration saga

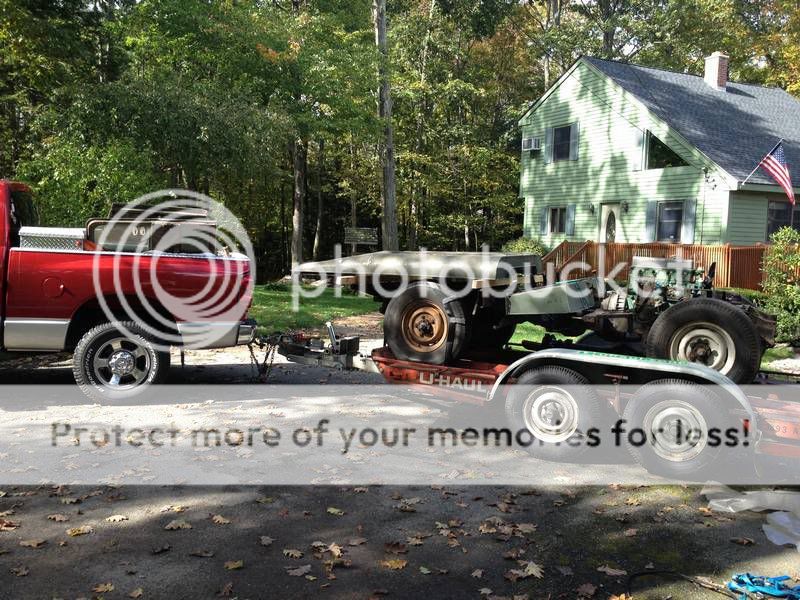
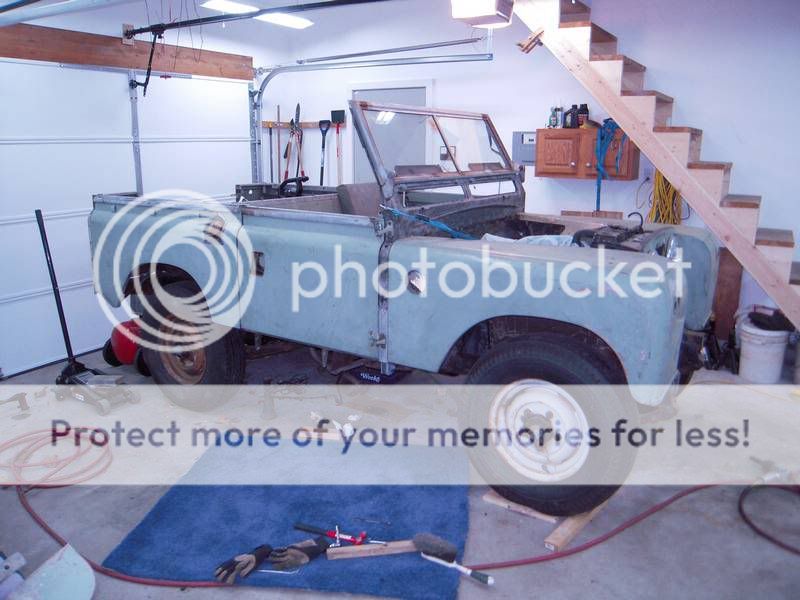
    So I just bought a collection of parts that I hope to transform into an operational IIa. My plan is to galvanize the chassis and cappings, and then start reassembly with any part either being refurbished or replaced. I am looking for a nice set of IIa or III wings.

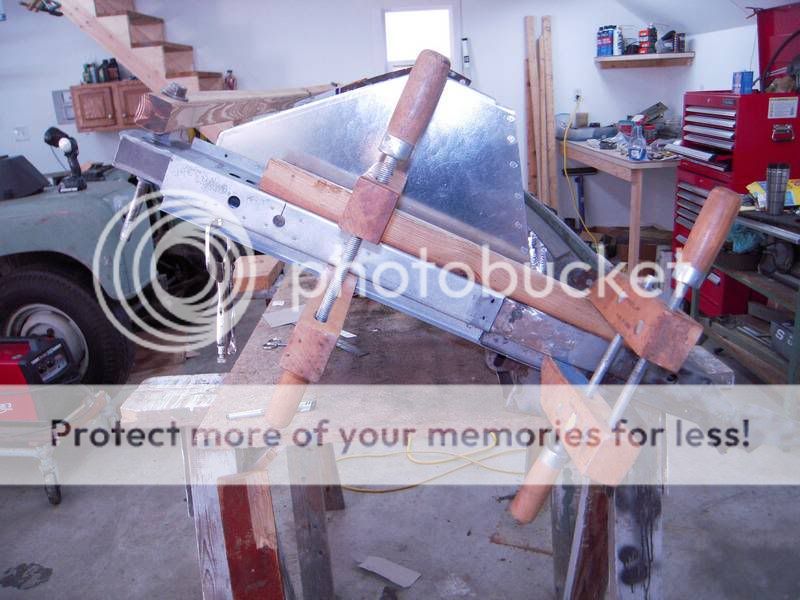
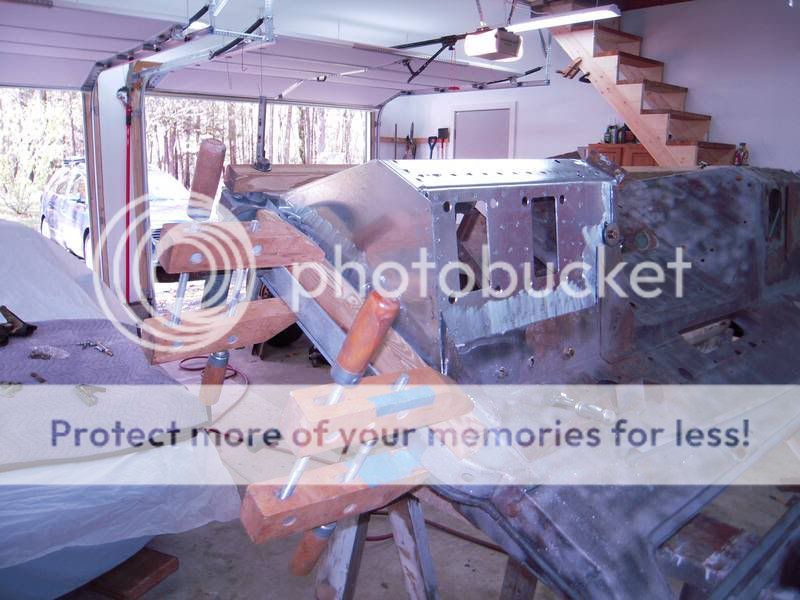
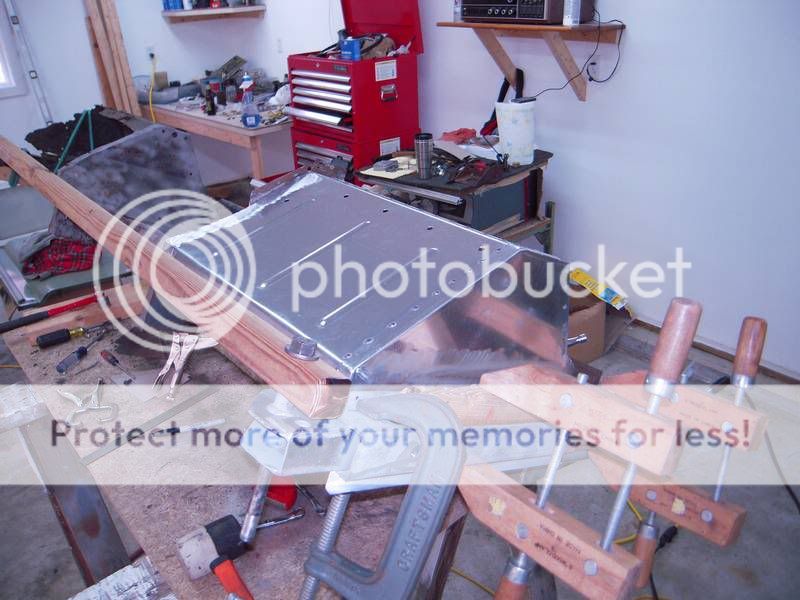
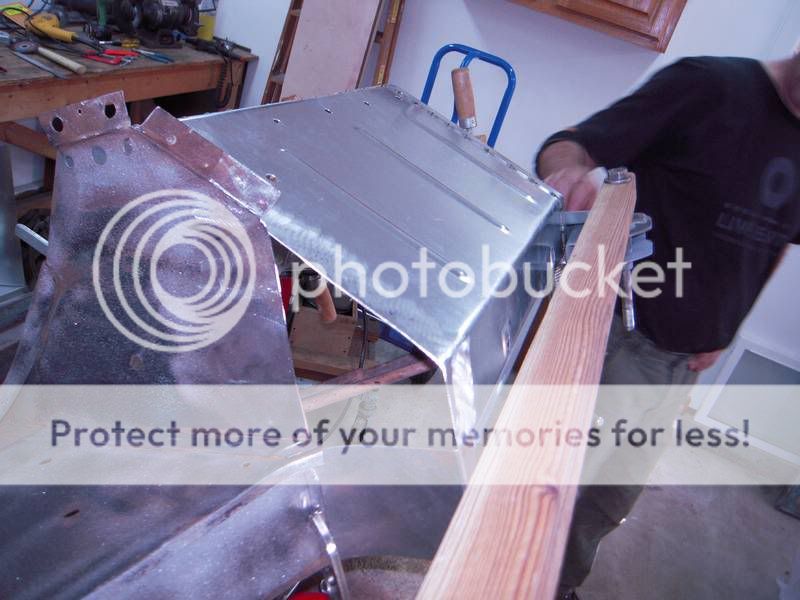
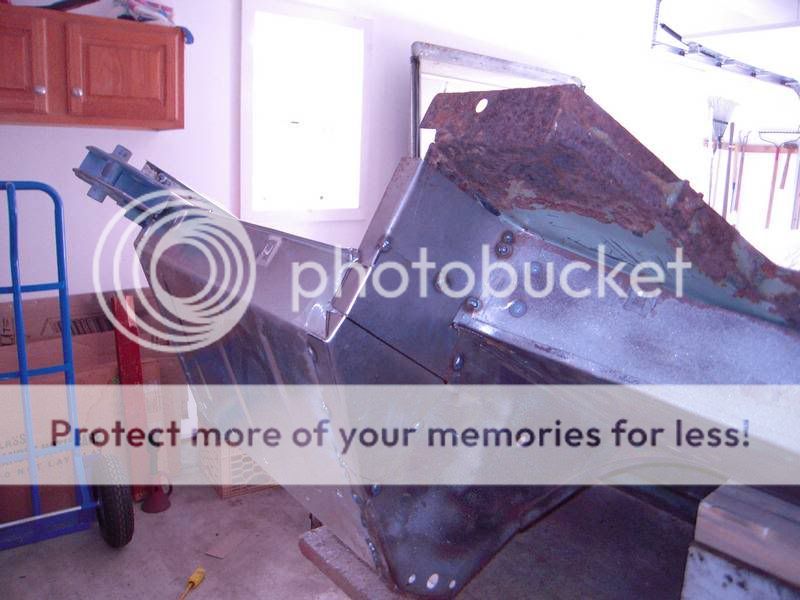
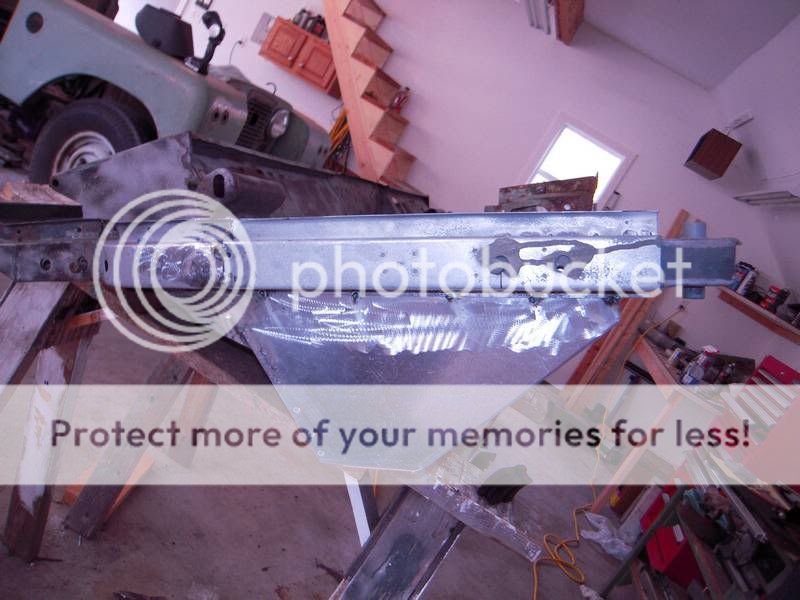
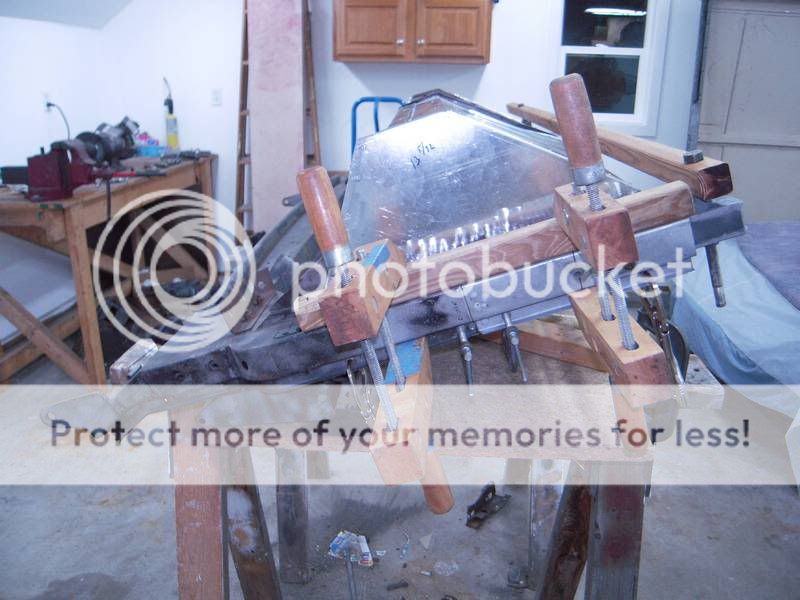
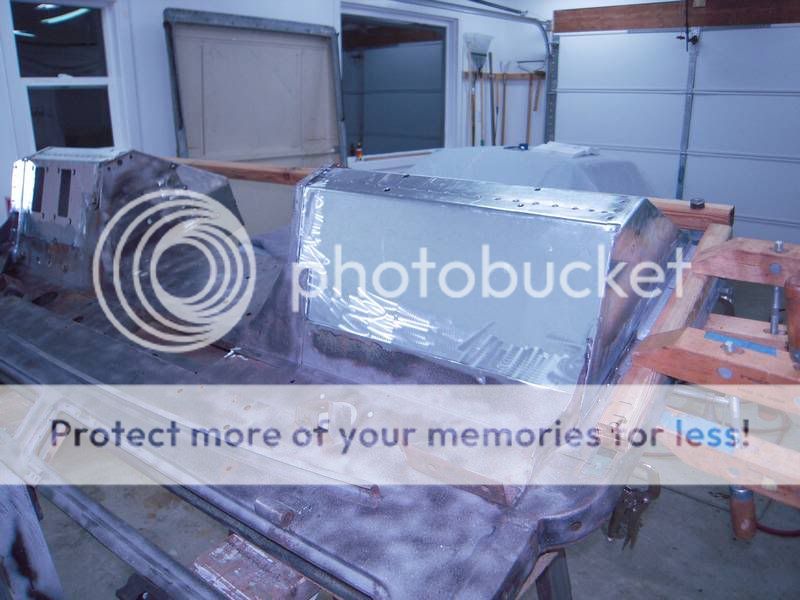
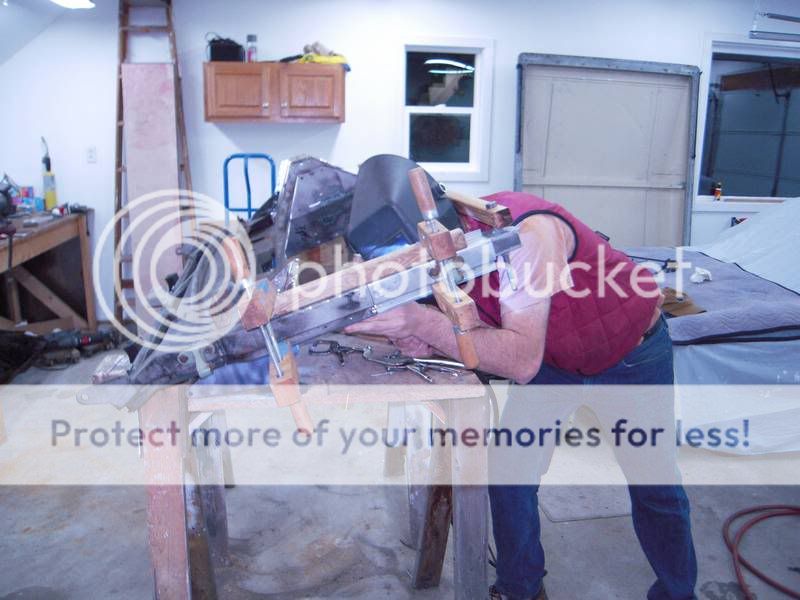
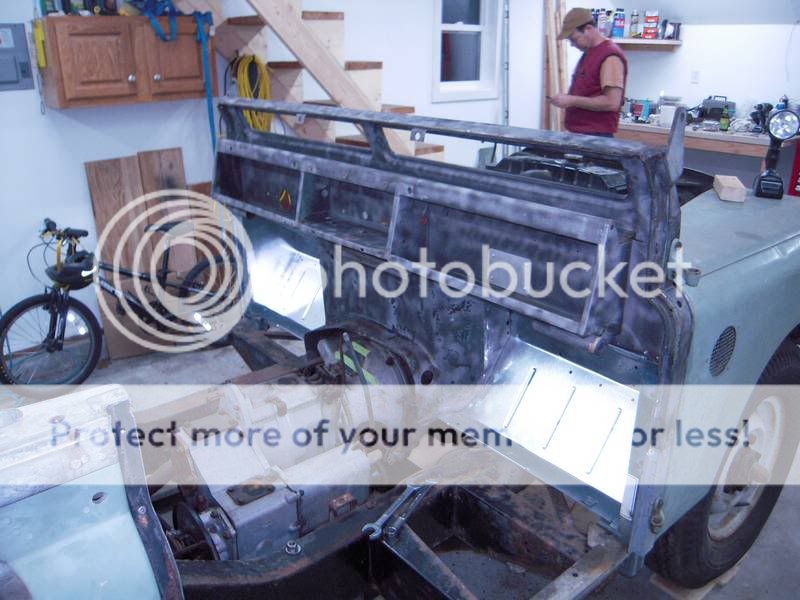
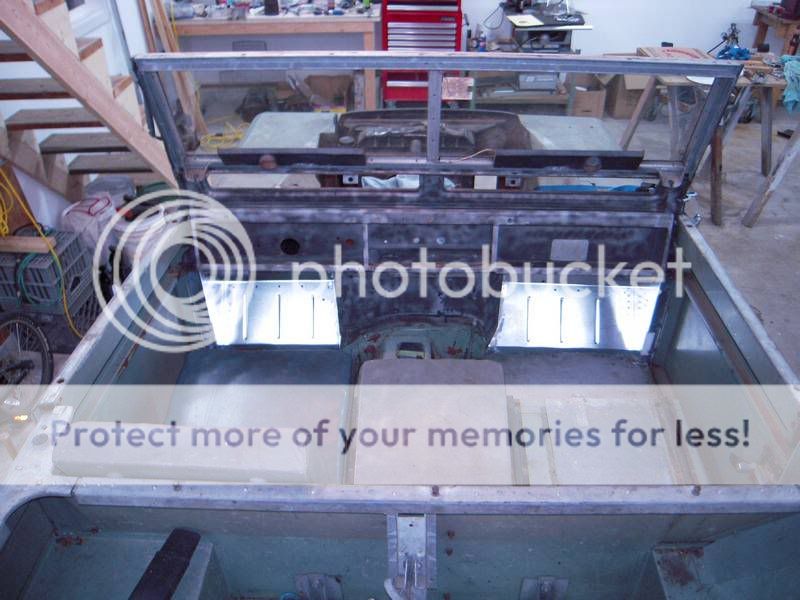
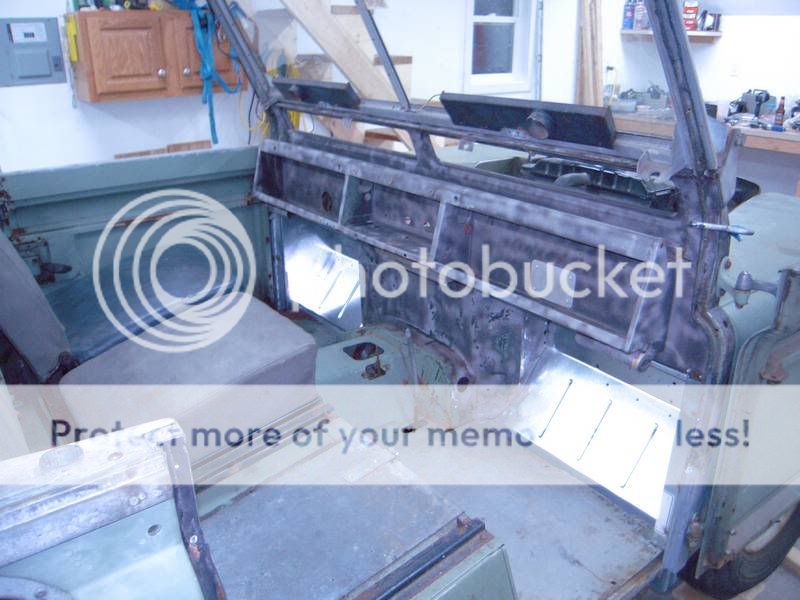
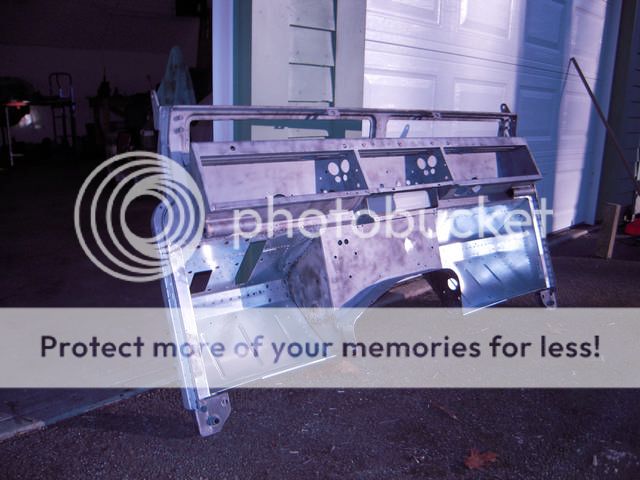
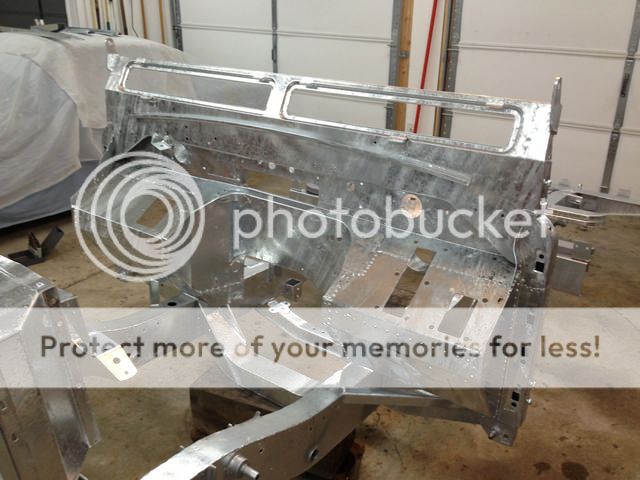
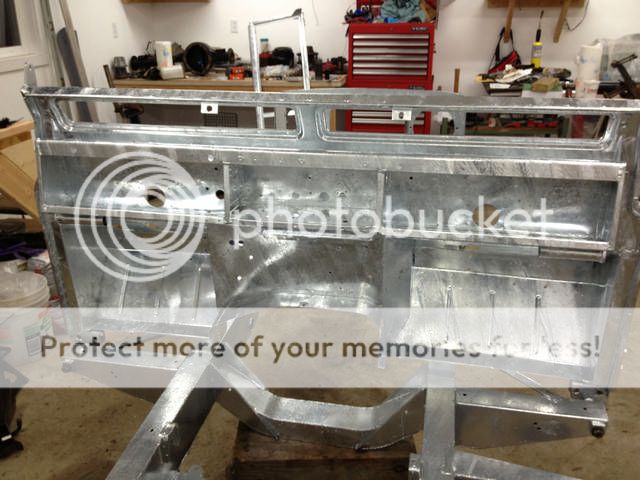
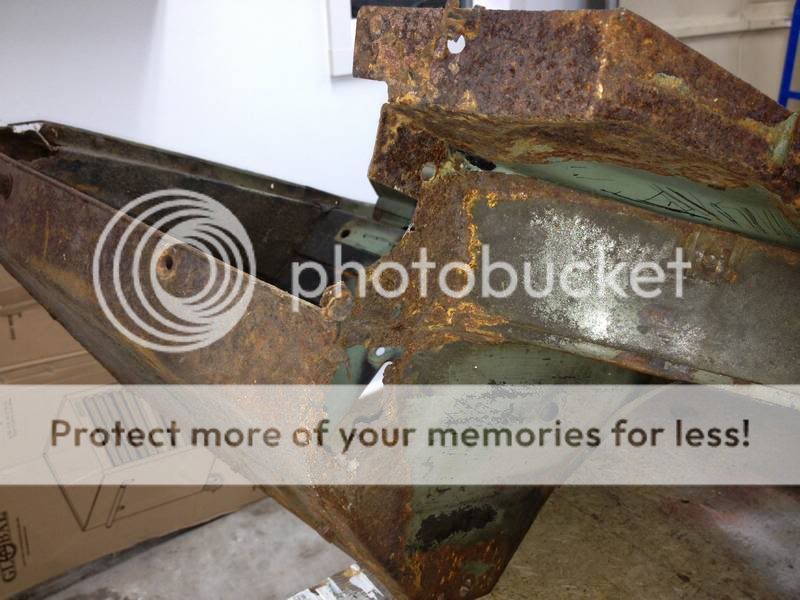
    So onto the bulkhead. It was obvious before sandblasting that the bottom half of each door post and the footwells would need replacing. Above the footwell, everything looks rust and dent free.


    Attached Files
    1976 Honda CB750F1
    1974 Honda CB360G
    1967 Series IIA
  • Cevan
    Low Range
    • Jul 2011
    • 57

    #2
    The bulkhead is quite a complex piece to restore. We spent a long time just figuring out what to cut and how the replacement panels would fit.


    Last edited by Cevan; 10-21-2012, 06:05 PM.
    1976 Honda CB750F1
    1974 Honda CB360G
    1967 Series IIA

    Comment

    • Cevan
      Low Range
      • Jul 2011
      • 57

      #3


      All tacked up:


      1976 Honda CB750F1
      1974 Honda CB360G
      1967 Series IIA

      Comment

      • ArlowCT
        2nd Gear
        • Jul 2008
        • 238

        #4
        Looking real nice! Even though mine was not as bad it makes me wish I had done the same when it was out of the truck. Keep up the good work.

        Comment

        • o2batsea
          Overdrive
          • Oct 2006
          • 1199

          #5
          If you're going to use boosted brakes be sure to cut the opening in the footwell before you go to galvy.
          Don't worry too much about the nut plates. I found that a little heat plus a little wiggling will free them up, and you can chase the threads with a tap.
          Also, if you grind off the lip on the door pillars, you can use one piece Defender push-on door seals.

          Comment

          • Cevan
            Low Range
            • Jul 2011
            • 57

            #6
            Originally posted by o2batsea
            If you're going to use boosted brakes be sure to cut the opening in the footwell before you go to galvy.
            Don't worry too much about the nut plates. I found that a little heat plus a little wiggling will free them up, and you can chase the threads with a tap.
            Also, if you grind off the lip on the door pillars, you can use one piece Defender push-on door seals.

            I haven't really thought about door seals. I know the OEM one are $$$$ and I'm guessing involve riveting them in place. What is the advantage of the Defender seals? Is it that they just push on? I saw these seals at McMaster-Carr that someone here used.

            On the bulkhead, I'm not going to galvanize it. It will get a good coat of a 2k epoxy primer and then color.

            Not sure about the brakes yet (dual circuit/boosted vs. stock single circuit). I've got IIA fenders, which I'm not sure if they need modifying in order to accomodate the master cylinder and brake booster. Although I am on the hunt for some nice fenders, either IIA or III. What exactly needs to be cut on the footwell? There are already to opening for the brake and clutch boxes.
            1976 Honda CB750F1
            1974 Honda CB360G
            1967 Series IIA

            Comment

            • albersj51
              5th Gear
              • May 2010
              • 687

              #7
              Originally posted by Cevan
              I haven't really thought about door seals. I know the OEM one are $$$$ and I'm guessing involve riveting them in place. What is the advantage of the Defender seals? Is it that they just push on? I saw these seals at McMaster-Carr that someone here used.

              On the bulkhead, I'm not going to galvanize it. It will get a good coat of a 2k epoxy primer and then color.

              Not sure about the brakes yet (dual circuit/boosted vs. stock single circuit). I've got IIA fenders, which I'm not sure if they need modifying in order to accomodate the master cylinder and brake booster. Although I am on the hunt for some nice fenders, either IIA or III. What exactly needs to be cut on the footwell? There are already to opening for the brake and clutch boxes.
              The brake pedal opening in the bulkhead needs to be widened slightly and elongated. If its a IIA fender, it will need to be cut to allow for the booster. An SIII fender shouldnt need the cut. Here are some links about the conversion. http://aluminumfriend.blogspot.com/2...1_archive.html


              Good luck!

              Comment

              • o2batsea
                Overdrive
                • Oct 2006
                • 1199

                #8
                On the bulkhead, I'm not going to galvanize it. It will get a good coat of a 2k epoxy primer and then color.
                Highly recommend that you rethink that. The first 250lbs is usually $250. That's a lot of rover parts that get dipped for pretty cheap.
                After galvy, then do the epoxy primer.

                Comment

                • Cevan
                  Low Range
                  • Jul 2011
                  • 57

                  #9
                  Originally posted by o2batsea
                  Highly recommend that you rethink that. The first 250lbs is usually $250. That's a lot of rover parts that get dipped for pretty cheap.
                  After galvy, then do the epoxy primer.
                  Painting a galvanized surface isn't as easy as it sounds. If you don't paint it within 48 hours, the prep changes and I'm no expert painter. I think it also depends on what type of zinc is used. I'll ask the guy I talked with about what he thinks. I'd like to hear from someone who's painted one and how it's holding up.
                  1976 Honda CB750F1
                  1974 Honda CB360G
                  1967 Series IIA

                  Comment

                  • albersj51
                    5th Gear
                    • May 2010
                    • 687

                    #10
                    I galvanized mine and painted it. That was about 8-9 months ago and its holding up very well. I painted it about 3-4 months after having it dipped. To prep it, I washed it well with a TSP solution to clean it, and then hit it with a diluted phosphoric acid solution on a sponge (not a spray gun where it could get places and I couldn't remove it) to etch it. Given that I live in the south, galvanizing it was overkill, but I wanted to be sure I didn't have to replace the darn thing again!

                    Here is a link to my rebuild thread on another forum. This page begins my galvanizing process. Perhaps you'll find some useful info in there.


                    Jason

                    Comment

                    • o2batsea
                      Overdrive
                      • Oct 2006
                      • 1199

                      #11
                      There's a lot of misinformation regarding painting galv.
                      Bottom line on it is that it doesn't really matter how long after dip you wait to paint it. As long as you use a 2 part epoxy primer you can paint any time and you don't need to do any prep as long as there is no wax or oil on the metal.
                      You can't use allkyd type primers like rustoleum.

                      Comment

                      • I Leak Oil
                        Overdrive
                        • Nov 2006
                        • 1796

                        #12
                        Cevan, not galvanizing isn't the end of the world. If you're on the fence about painting it contact Mercedesrover (here or more likely on the GnR board). Jim will steer you straight on painting it....that's his buisiness.
                        Jason
                        "Clubs are for Chumps" Club president

                        Comment

                        • Cevan
                          Low Range
                          • Jul 2011
                          • 57

                          #13
                          Update: Passenger side mocked up. It was a lot easier after already doing the driver's side. I think I have cut out about 10 lbs of metal out of this bulkhead.


                          Bob the welder.


                          Partially mocked up. We spent a little time trying to get the doors, bulkhead and fenders adjusted. Decided to throw the seatbox and floors in. Overall, I'm pretty happy with results.


                          1976 Honda CB750F1
                          1974 Honda CB360G
                          1967 Series IIA

                          Comment

                          • Cevan
                            Low Range
                            • Jul 2011
                            • 57

                            #14
                            Quick update. Finished the welding and grinding on the bulkhead. My friend has a III so I was able to measure and cut the correct opening for the brake tower.


                            Decided to galvanize it. Drove out to Duncan Galvanizing last Friday with a bunch of parts. Pretty happy with how it all came out.


                            1976 Honda CB750F1
                            1974 Honda CB360G
                            1967 Series IIA

                            Comment

                            • jac04
                              Overdrive
                              • Feb 2007
                              • 1884

                              #15
                              Originally posted by Cevan
                              Drove out to Duncan Galvanizing last Friday with a bunch of parts. Pretty happy with how it all came out.
                              Did they galvanize it while you waited? The finish looks nice, any issues with slag or finish damage? Did you have a standard hot dip or did you have to ask for an architectural finish?

                              Comment

                              Working...