-
-
Did some parts cleaning and painting this afternoon....
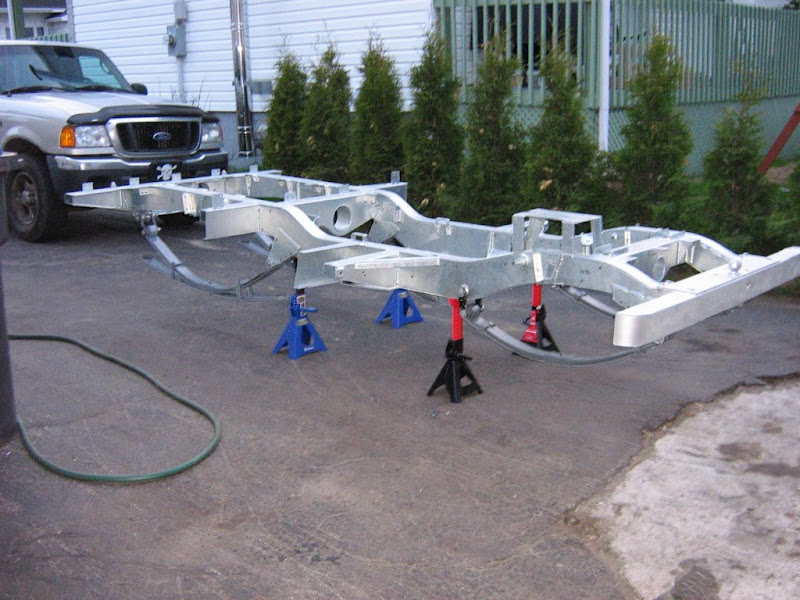
I was now getting bored of cleaning and painting. And my new chassis had nothing bolted on it so I did put the new parabolics on it and my front bumper.
Comment
-
looking good.. What oilpump is that? Is that a Genuine pump? ... My '73 series had a different screen arrangment? ..Talbot
Comment
-
Well, it may seem a daring move, painting a Rover engine white, but it was really more of a practical consideration--I'm tired of doing everything by feel. I need to be able to see into the dark recesses of the engine/engine bay at night in the bush using a lousy flashlight. The inner wings are going to get the white treatment too, I think.
Prep work consisted of paying a machine shop wodges of cash to, among many other things, strip the engine down to bare metal. Then I removed any other traces of oil/assembly lube, primed with DupliColor grey engine primer and sprayed 3 coats of universal white engine enamel on. When everything is done, I'm going to give the white areas another 2 coats of clear gloss engine enamel--That should make it pretty easy to hose off any oil leaks/grease marks, etc.
Talbot...
It's a 2.5NA diesel. The oil pickup screen is probably different than on the 2.25. This Allmakes pump actually came with 2 pickups--One straight and one bent, as pictured. Not sure which application uses the straight one...
Martin...
I sure wish your galv chassis w/parabolics was going under my engine. Looking good!--Mark
1973 SIII 109 RHD 2.5NA Diesel
0-54mph in just under 11.5 minutes
(9.7 minutes now that she's a 3-door).Comment
-
The white finish is a good idea Mark. In large marine engine rooms , most things are white or very light colored (CAT yellow, MANN grey) so that any leak can be spotted easily and quickly. They also have the advantage of lighting to help. The idea of painting the engine bay white is a good one-that will allow you to reflect the flashlight beam off the walls to pick up any leak or weeping. Are you going to encase the electrical connections to allow you to hose down the area when it gets dusty?
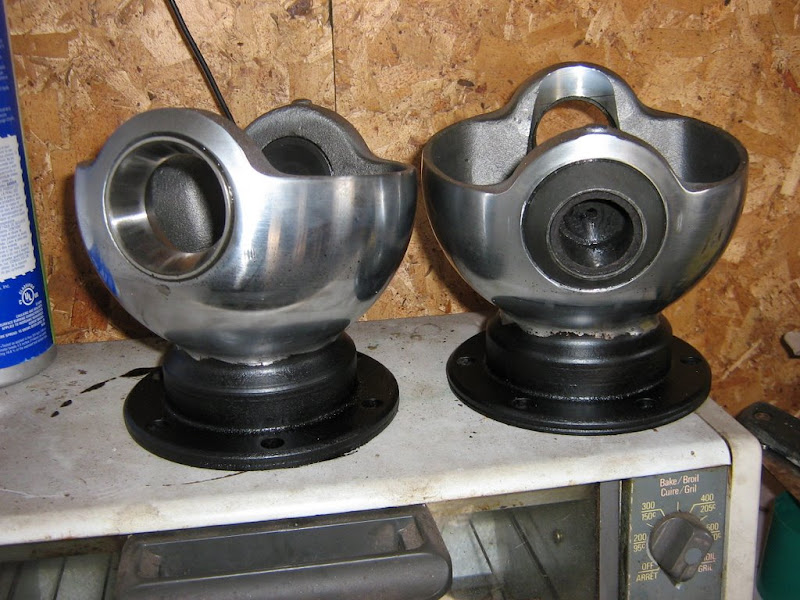
Any before pics, Martin? The swivel balls came out really nice!64 IIa 88
94 Discovery
06 Toyota 4R (DD)
~Matt
--------------------------------------------
"Not all who wander are lost"~TolkeinComment
-
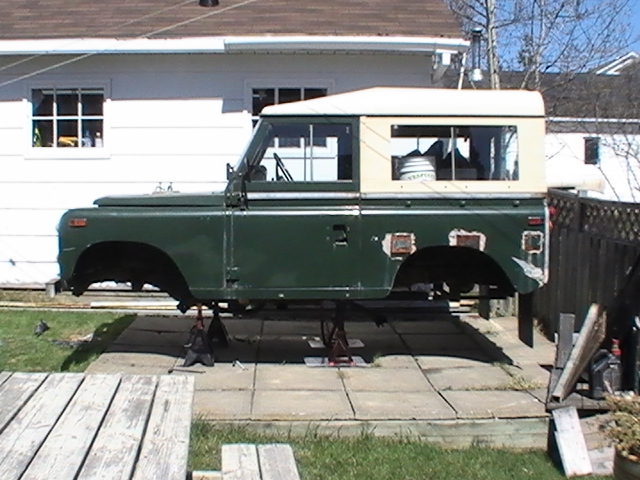
When I bought it 2 years ago....was running but the frame was too rotten to drive it...

Now...
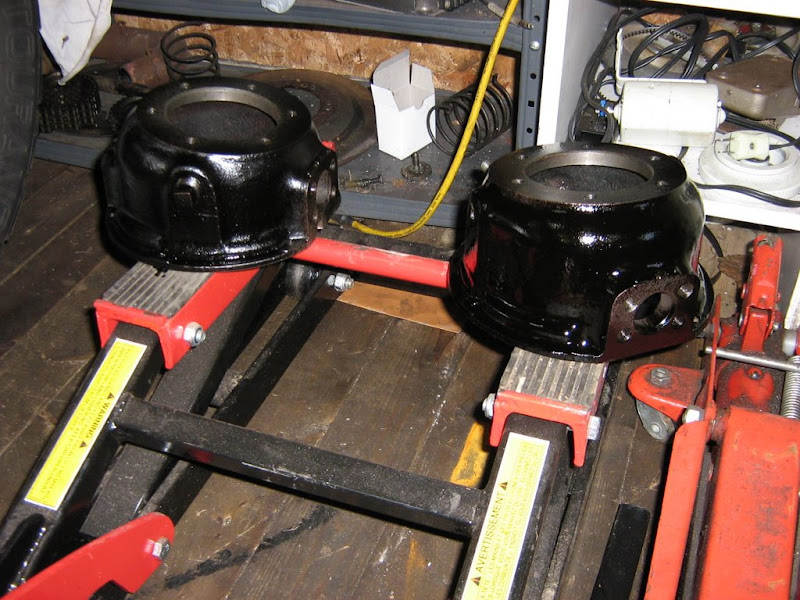
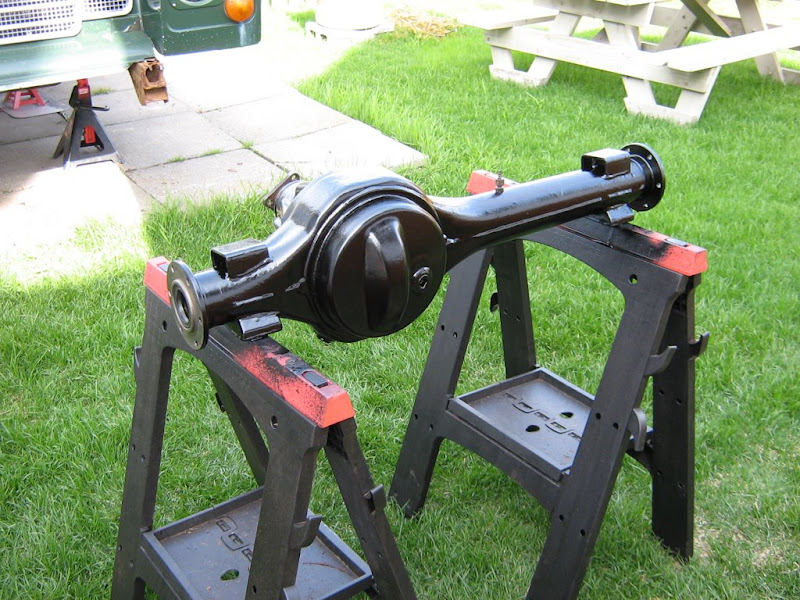
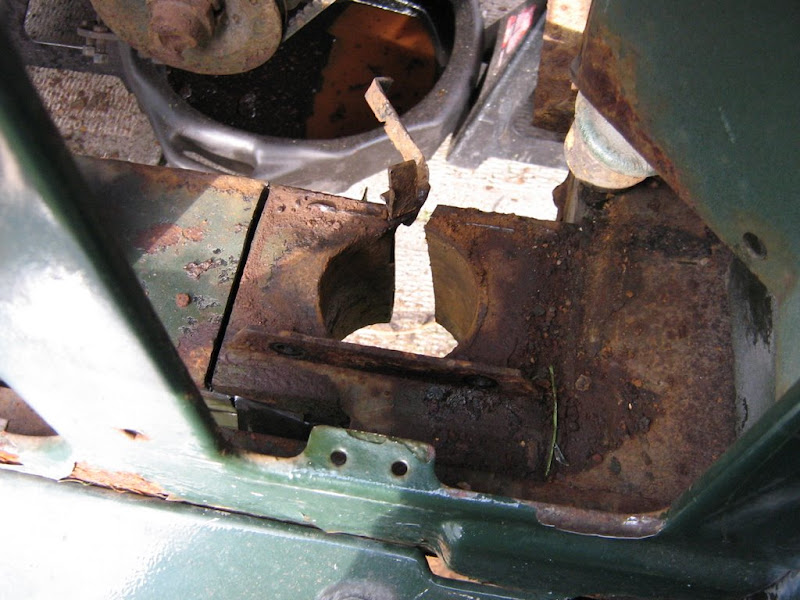
Front axle before...

Front axle now...
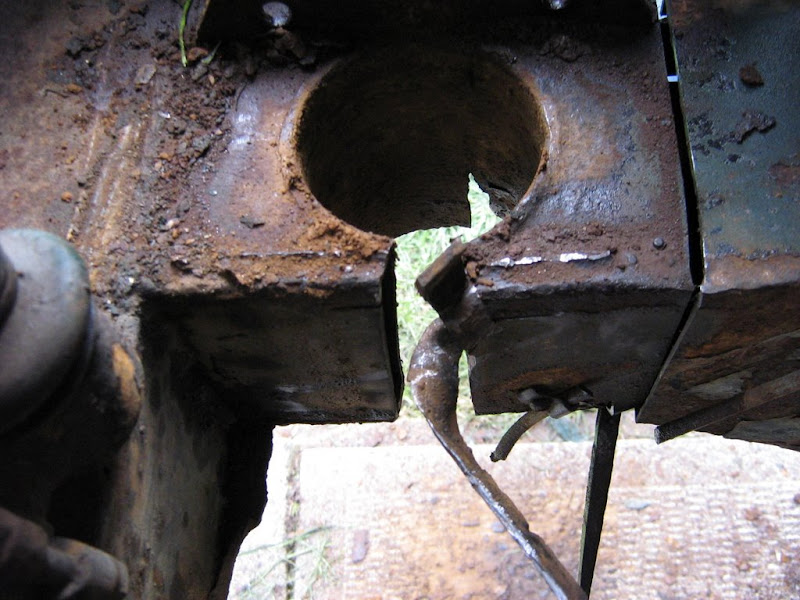
Today im removing the radiator to be able to remove the stering relay. I will need to zip-cut the entire area to pull it out...its welded there from the rust....Comment
-
I picked this 109 up last fall from a local guy. Wish I had seen it a few years ago before buying my S111...but thats all luck and timing I suppose. I had intended to put a new exhaust on it and a new wiring harness and then just drive it. However I started looking it over and found lots of little things that I just could not let go....and of course you start looking...you start finding. So before I put the new autosparks harness in I want to finish cleaning the inside of the bulkhead. The previous "restorer" (hack) decided to rattle can the inside of the white panels with black....the end result is that the black cheap paint is now flaking off...and you can't see a damn thing inside the truck. So I am addressing that as well. I took some pictures last night of the progress.
here she sits patiently:

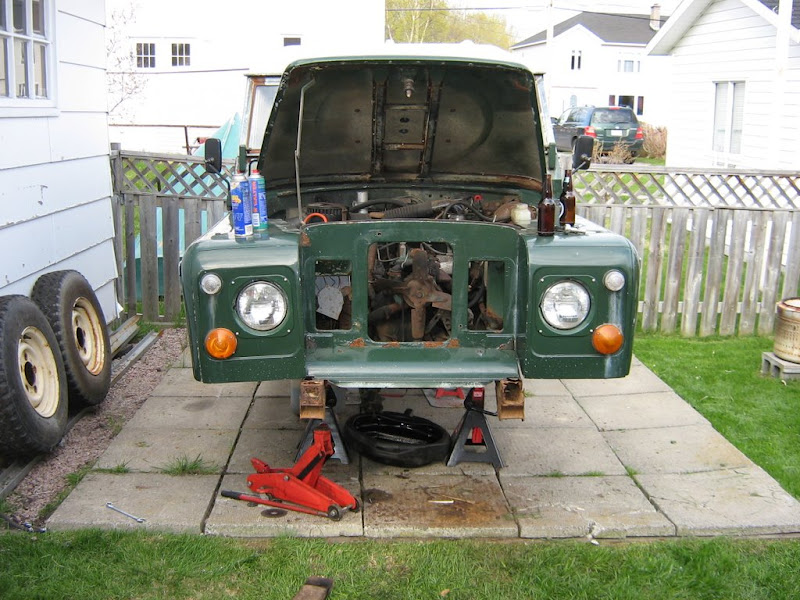
Engine bay with nasty old harness removed...new Autosparks harness sitting on top.

progress on inner bulkhead:

Interesting use of diamond plate to replace a rusted out section of the bulkhead....pretty lame repair in my mine...the thing is just screwed in place and semi sealed with expanding foam. I removed a lot of creatively used expanding foam yesterday.

In the above picture you might notice that the transmission tunnel cover looks a little odd...it has an extra piece of tin screwed too it...wonder why thats there:
Ooooh thats why the tunnel cover is (a) too short, and (b) rusted out:....more foam.

I noticed that the underseat battery box...while solid and in good condition, was not properly attached to the seat box. There were rivet heads on the seat box but they did not attach to anything inside...so the battery tray wanted to fall out the front. I drilled all the rivets out and will assemble properly once things are painted.

Comment
-
Though it's not really necessary, I'm going to build a new engine harness using these Tyco AMP circular connectors for the engine-to-chassis connection. Eventually, when my credit card recovers from theis engine overhaul, I'm going to rebuild my entire harness using connectors like these where the wires penetrate the bulkhead, where the wiring goes through the wings, radiator support panel, etc.
 --Mark
1973 SIII 109 RHD 2.5NA Diesel
0-54mph in just under 11.5 minutes
(9.7 minutes now that she's a 3-door).Comment
-
Changed the position of the seatbelt anchorage.
I also nearly sold my beloved 88" series III I need the cash but must find another way to raise some money.
  been there before, and I know it's impossible to live with out my trusty old Leafer.
Comment
-
Stripping paint to reveal original ?
Jac04,
I just picked up a lightweight, seems in good shape, but additional coat(s) it appears...wouldn't mind trying the stripping you mentioned to see if I can reveal something in good shape or not underneath...as I'm thinking about a going for a tan color similar to yours ...dependent on what I find underneath (or not)...... 2 questions :
1. Could you tell me anything about the "stripping process" that allows to reveal orig coats without taking those off also ?
2. Appreciate if you can tell me the color code for you lightweight...and a potential source to get it / how much to order etc... ?
I can send you a private msg if easier also...
many thanks (pic is the new lightweight)...
mikeLast edited by mrdoiron; 01-09-2011, 03:26 PM.---------------------------
1961 Ser IIa Hybrid Defender
1969 Ser IIa Bugeye
1980 Ser III Lightweight 24V RHD- sold
1988 LR90 turbo diesel RHD - currently frame off rebuild in progress
1998 Disco - ex wife :-(
2000 Disco - RIP , end over end 2.5 times
2010 RR Sport Supercharged
http://mikerovers.shutterfly.com/Comment
-
More progress. Got most of the old paint off of the bulkhead and started cleaning the rear cargo area floor. Also removed the rear headliner section which was full of mouse stuff and smelled bad...headliner was in bad shape anyways.


Comment
-
TJR Talbot...I hope to finish mine this fall or early next spring...Well I hope....
Yesterday I removed the radiator and the steering relay. What a pain in the a$$ it was...Had to zip-cut the old frame and even after the cut it took me half hour to pull it out....
Comment
-
Kicked it
Kicked the truck in the ass. Can't get it to fire.Comment

 Tweet
Tweet


Comment